How to Install TeamViewer on Linux
How to Install TeamViewer on Linux
TeamViewer is useful for connecting remote systems with graphical environment very easily. Teamviewer team has announced its latest version 15. This version is loaded with lots of improvements than older version. Read more about features in TeamViewer 15.
This article will help you to install TeamViewer 15 on Ubuntu, Fedora, CentOS, Red Hat, LinuxMint, Scientific Linux, Debian Linux distributions.
Step 1 – Download TeamViewer
First of all, download the latest available version of Teamviewer packages from its official website. With the latest update of this tutorial TeamViewer 15 is available to download and install.
- Downlaod Debian Package
wget https://download.teamviewer.com/download/linux/teamviewer_amd64.deb - Downlaod RPM Package
wget https://download.teamviewer.com/download/linux/teamviewer.x86_64.rpm
Step 2 – Install TeamViewer
As you have downloaded the Teamviewer package on your system, Let’s install as per your operating system. For rpm based systems use yum or dnf to install required dependencies. For Debian based systems use
- Fedora 22+ & CentOS/RHEL 8
sudo dnf install teamviewer.x86_64.rpm - CentOS, Redhat & SL
sudo yum install teamviewer.x86_64.rpm - Ubuntu, Debian & Linuxmint
sudo dpkg -i teamviewer_amd64.deb
sudo apt-get -f install      ## Installation with dependencies
Press ‘y’ for any confirmation asked to complete the teamviewer installation on your Linux desktop.
Step 3 – Launch Teamviewer
As of now, You have successfully installed TeamViewer on your Linux machine. Just type below command from terminal to launch Teamviewer
teamviewer
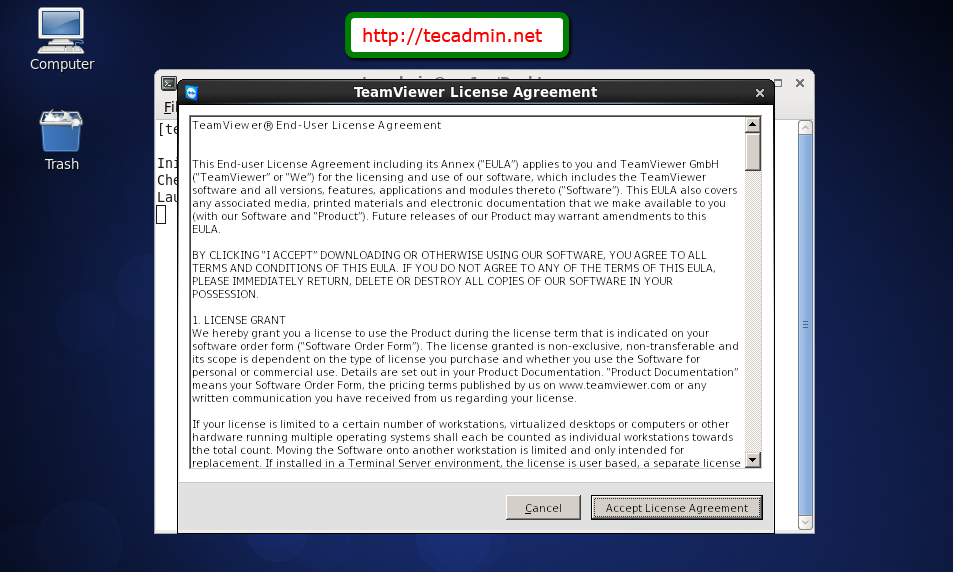
With the first-time startup, TeamViewer will prompt to accept the agreement. Click to accept license agreement.
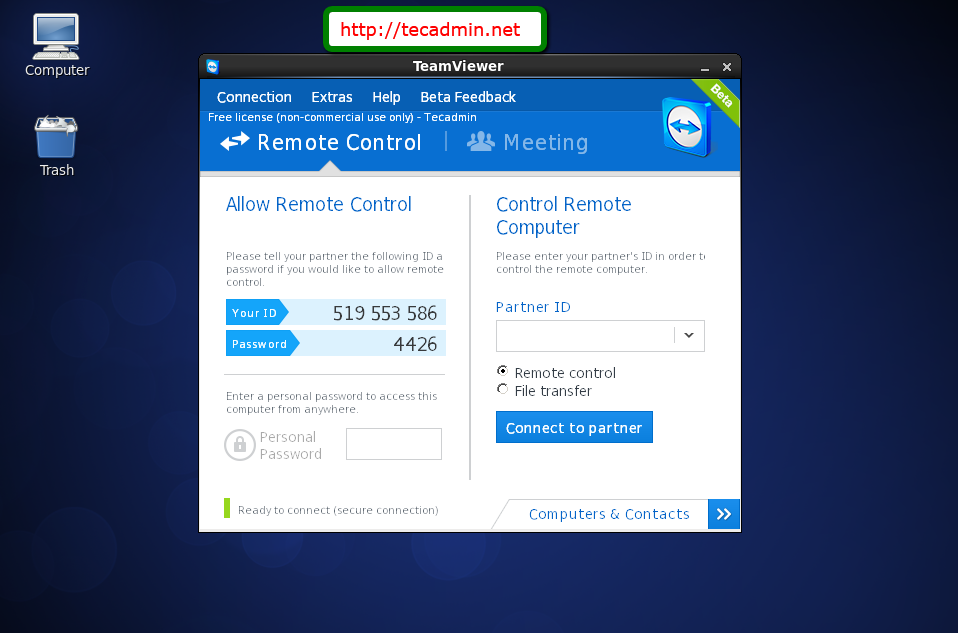
Once you accept the agreement, teamviewer will start.
Here you will see the Teamviewer ID of your system. Also you can connect to remote system having teamviewer installed by entering their id under parter ID input box.

